
Installing a garbage disposal might seem like a daunting task, but with the right tools and a bit of patience, you can easily handle this project yourself. Whether you’re upgrading an old unit or installing a brand-new one, understanding the steps involved will save you both time and money. In this guide, we’ll walk you through everything you need to know about garbage disposal installation, with easy-to-follow tips and expert advice to make the process smoother.
Why Should You Consider Installing a Garbage Disposal Yourself?
If you’ve ever been frustrated by slow-moving sink drains or unpleasant odors from food scraps, a garbage disposal can be a game-changer. But before you hire a professional, consider the benefits of doing it yourself:
- Save money: Professional installations can be pricey, but DIY installations cut the cost significantly.
- Gain a sense of accomplishment: Completing a home project like this gives you a great sense of pride and saves on labor costs.
- Learn something new: This is a great opportunity to expand your home maintenance skills.
Though it may seem intimidating, the process isn’t as complicated as it sounds, especially if you follow the right steps.
Tools You’ll Need for Garbage Disposal Installation
Before diving into the installation, make sure you have the right tools. Here’s a basic list:
- Adjustable wrench
- Screwdriver
- Putty knife
- Plumbers putty
- Wire nuts
- Pliers
- Hacksaw (if needed)
You might also need a drain assembly kit and a mounting ring depending on your specific sink setup. These tools will ensure you can tackle any task that comes up during the installation process.
Step-by-Step Guide to Installing a Garbage Disposal
Now, let’s get into the nitty-gritty. Installing a garbage disposal involves several key steps. Here’s a simple breakdown:
1. Turn Off Power and Water Supply
Before you even think about unscrewing anything, make sure the power to your garbage disposal is off. Go to your circuit breaker and shut off the power. Also, disconnect the water supply to avoid any accidents.
2. Remove the Old Unit (If Applicable)
If you’re replacing an old garbage disposal, start by removing the unit. Use your wrench to disconnect the drain pipes and loosen the mounting hardware. Once you have it unscrewed, carefully remove the old unit.
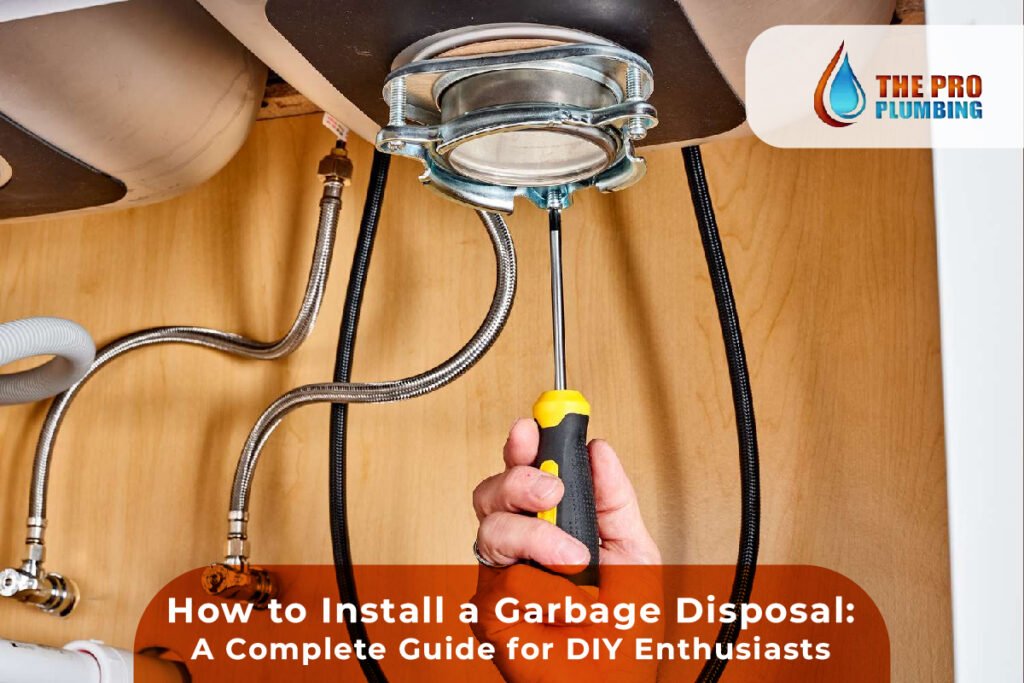
3. Install the New Mounting Assembly
Next, you’ll need to install the mounting assembly. This part will attach the disposal to the sink. Make sure the gasket is properly in place before tightening the mount. This is the point where you’ll need to use plumbers putty to ensure a tight seal.
4. Attach the Disposal Unit
Now, it’s time to attach the new garbage disposal. Lift it into place, aligning it with the mounting assembly, and secure it tightly. Make sure the unit is stable and level to avoid future issues.
5. Connect the Drain and Dishwasher (If Applicable)
If your garbage disposal also connects to a dishwasher, you’ll need to remove the knockout plug inside the disposal and attach the dishwasher hose to the inlet. Then, reconnect your drain pipes to the disposal.
6. Wire the Disposal
You’ll need to connect the electrical wires of the disposal to the power source. If you’re unsure how to handle the wiring, it’s best to consult the disposal’s manual. Typically, it will involve connecting black to black, white to white, and grounding the green wire.
7. Test and Check for Leaks
Once everything is hooked up, turn the water and power back on. Run water through the sink to check for leaks. If you find any, tighten the connections and ensure the seals are intact.
DIY Garbage Disposal Installation Tips
Here are some tips to make the installation process go smoothly:
- Read the Manual: Don’t skip the instructions that come with your garbage disposal. Every model may have slightly different installation steps.
- Check Compatibility: Ensure your sink is compatible with the disposal unit you’re installing. Some sinks may require specific mounting kits or adjustments.
- Test Before Sealing: Before finalizing the installation, test everything to make sure the unit works properly. It’s easier to fix things before everything is fully tightened.
- Wear Safety Gear: Always wear gloves and protective eyewear to keep yourself safe while installing the unit.
Frequently Asked Questions (FAQs)
Q: How long does it take to install a garbage disposal?
Typically, the installation process takes two to four hours, depending on your sink setup and whether you’re replacing an old unit.
Q: Do I need a plumber to install a garbage disposal?
While you can install a garbage disposal yourself, it’s recommended to have a professional plumber handle it for safety and to ensure proper installation. However, with the right tools and patience, many DIYers successfully complete the job.
Q: What if my garbage disposal is making strange noises?
Unusual noises usually indicate something is stuck inside the disposal. Turn it off, remove the jam carefully (using tongs or pliers), and see if the noise stops. If it persists, you might need a professional to check it out.
Q: Can I install a garbage disposal on any kitchen sink?
Most standard sinks are compatible with garbage disposals, but older or non-standard sinks may require specific adapters or modifications.
Final Reflections:
Installing a garbage disposal is a manageable DIY project for anyone willing to roll up their sleeves and give it a go. While it may seem intimidating at first, the process is straightforward if you follow the right steps. By saving money on professional installation and gaining a useful skill in the process, you can enjoy a cleaner, more efficient kitchen. So why not take the plunge? Get your hands dirty, and enjoy the satisfaction of a job well done!